
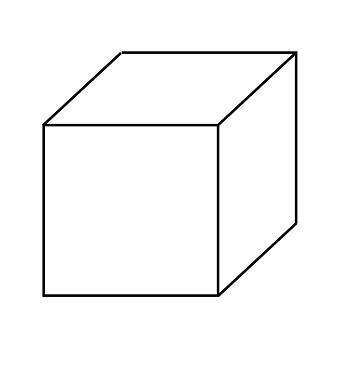
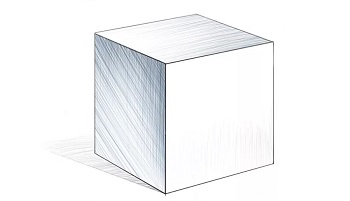
You’ll learn how to draw a cube by hand using the ideas of two-point perspective in this lesson. This lesson is not about technical details. Drawing cartoons and comic-style art is the best use for the skills you will learn here.
Drawing three-dimensional cubes require some basic knowledge. Some mistakes are easily corrected if you know how to look for them. For these mistakes to be identified and fixed, you only need a little basic knowledge.
As you learn the techniques in this tutorial, you’ll be able to draw almost anything that takes on the basic shape of a cube.
Here is 5 Methods to Draw a Cube
Method 1
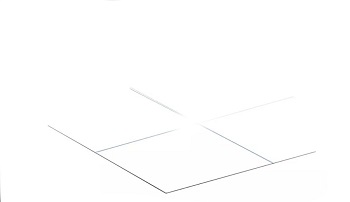
Step: 1
The drawing of a cube is explained here. Using some 2D squares and rectangles, then build the 3D shape. To draw the cube, you should draw with lighter colors. This will require a lot of erasing before we reach the final shape, so try to use a lighter pencil for the first few steps.
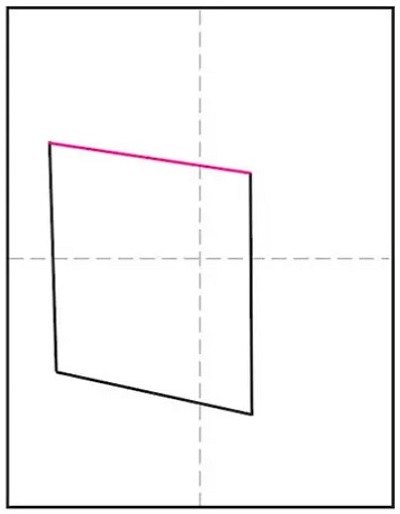
Step: 2
Build up your cube by drawing another square. You will now draw another square as you build up your cube drawing. A ruler can be very useful at this point to measure the sides of the first square so that this square will be exactly the same size as the one you drew earlier.
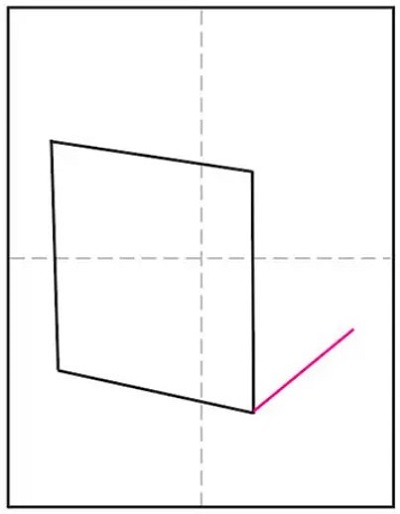
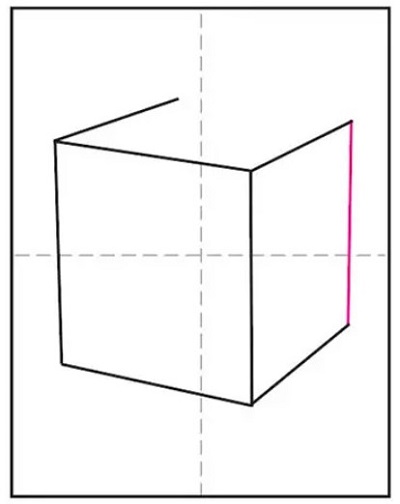
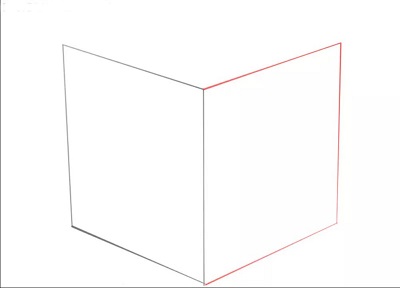
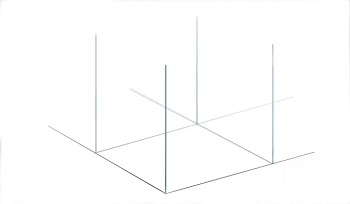
Step: 3
The next step is to draw the cube’s outline. This method of drawing a cube will be much simpler than our previous guide. You need to draw a line connecting two squares’ top corners, using your ruler. Now that you have completed step 3, let’s move on to step 4!
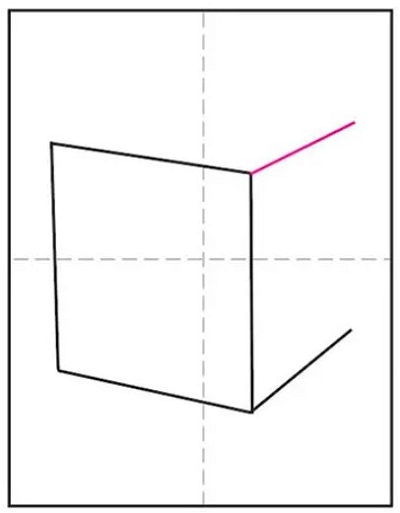
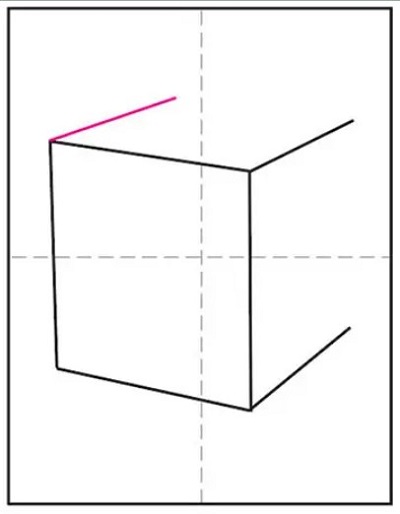
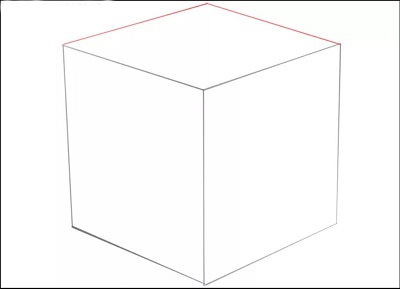
Step: 4
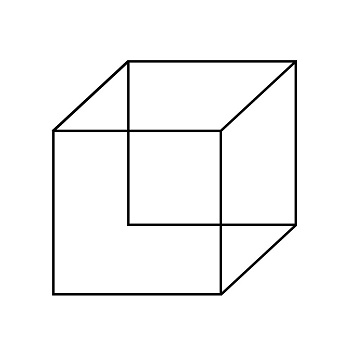
Draw some lines to complete your cube. To give the sides of the cube more movement, you should add more lines to connect the sides of the cube from the previous step. Step three involves connecting the sides of the shape on the right and making sure that the shape looks the same as it does on the reference image.
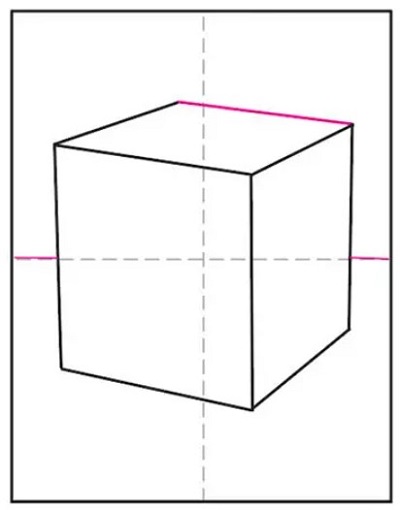
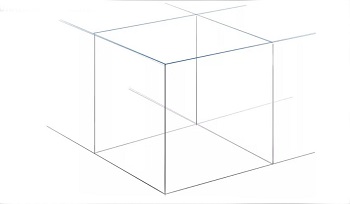
Step: 5
The lines that are unnecessary can now be erased. This fifth step in our guide on how to draw a cube will consist of eliminating any unnecessary lines and applying the final pen line. If you want to do this, you will simply need to erase the two inner lines of the square at the back of your cube, keeping the outer two.
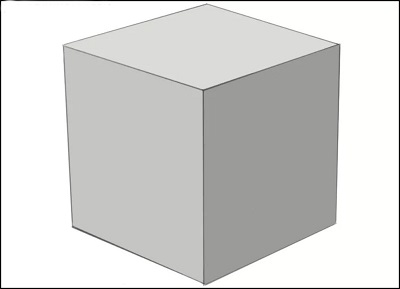
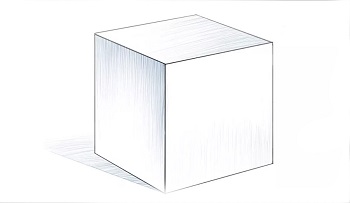
Step: 6
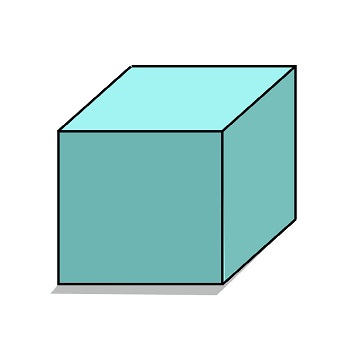
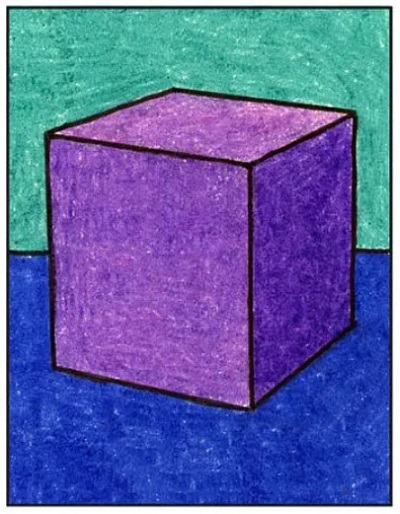
Put some color on your cube drawing to finish it off. As you’ve reached the end of the process, you’ve already created a great drawing of a cube! You can go an extra step by adding some beautiful colors to that.
Method 2
Step: 1
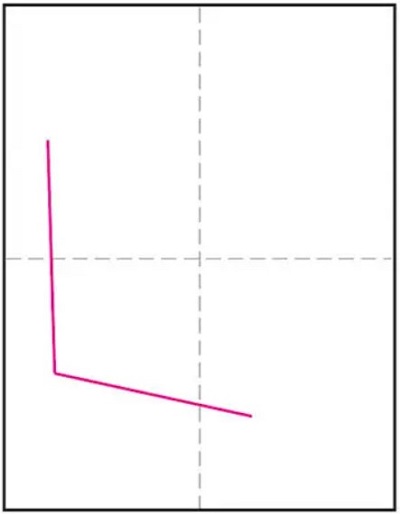
The first step is to draw an L shape like the one below.
Step: 2
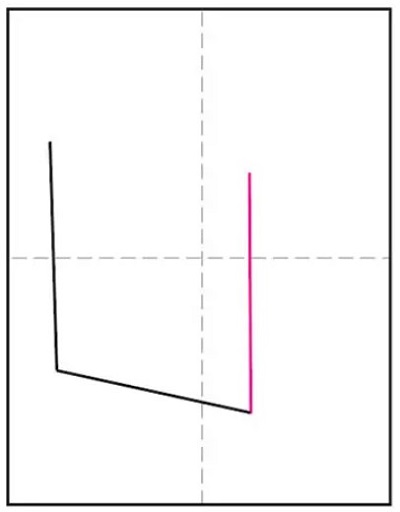
An additional vertical line should be added.
Step:3
Complete the square by connecting at the top.
Step: 4
You must draw a line at the top, and a second line at the bottom.
Step: 5
There will be a second line on the left.
Step: 6
The third sideline should be drawn.
Step: 7
Make sure the right side is connected.
Step: 8
The ends should be connected on top.
Step: 9
Using a marker, trace the outline. By shading, your cube will appear even more realistic.
Method 3
Step: 1
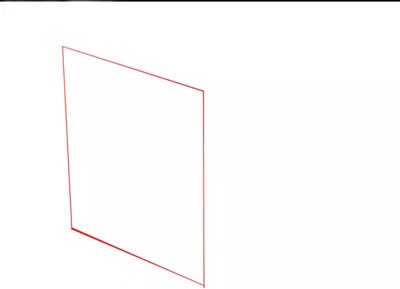
Create the left facet of the cube. First, you will draw the cube’s side. Be sure to draw straight lines. Keep in mind that as the top and bottom lines distance themselves, they should get closer and closer together.
Step: 2
Make a drawing of the left face. Create another face for the cube using some straight lines. , it is important that the top and bottom lines move closer as they move away from each other.
Step: 3
Create a top-down drawing of the face. Draw two lines on the face. You can also draw a cube by using a ruler. When it comes to illustrating straight lines, however, encouraging you to draw a cube without any assistance.
Step: 4
Complete the cube drawing by coloring it. For example, the light sources are in the upper left corner. Taking this into account, let’s sketch a cube. Let’s make the right face darker. Compared with the left face, the right should appear lighter. On the top of the face, it should appear the lightest of all.
Method 4
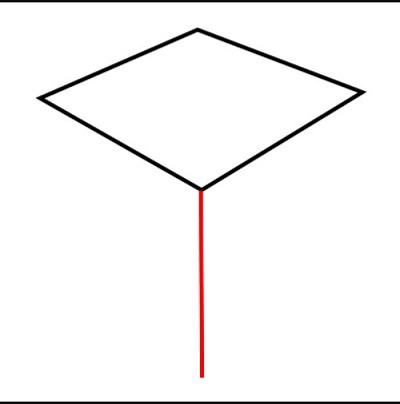
Step: 1
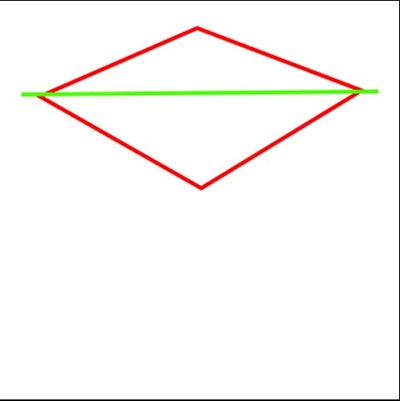
You need to draw a rhombus to illustrate the top of your cube first. You should make your bottom half bigger and longer than the top part, as shown in the image above. Do not make it too big!
Step: 2
You will now draw a single line for the front edge of your shape.
Step: 3

Create the edges by drawing two more lines. Just make them a little shorter than the previous one.
Step: 4
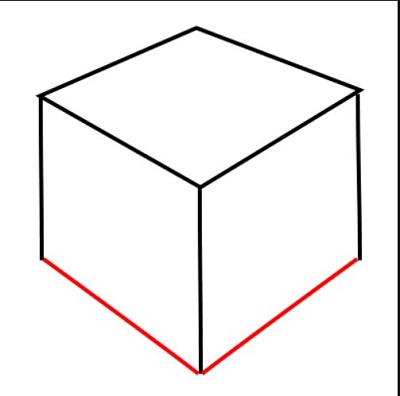
In order to complete your shape, you will need to draw two lines at the bottom that are missing.
Step: 5
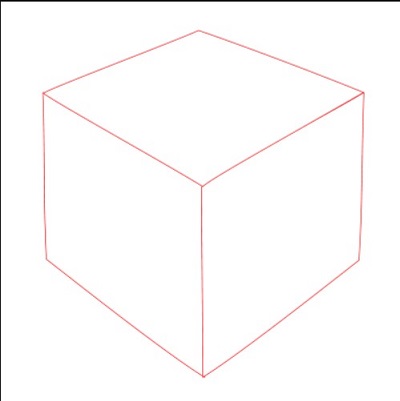
As a sugar cube has a thin outline, this outline should be refined by making it lighter and more subtle.
Step: 6

Make your drawing complete by adding a grey color.
Step: 7
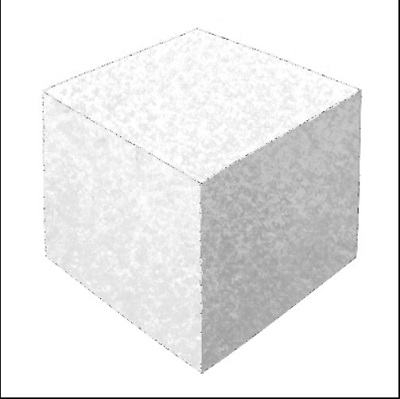
You can finish your design by adding sponge-like textures. To make your cube look rough, it must have a rough surface. Now your cube looks rough. Drawn in seven steps, this simple sugar cube is easy but effective. Below are some other cool sugar-filled tutorials. Enjoy!
Method 5
Step: 1

The cube should be sketched from the bottom first. Use the method of the sighting we explained in the article on linear perspective so that you don’t make a mistake when calculating angles of inclination. Make sure you use very thin lines and avoid using measuring devices.
Step: 2
Draw two more edges that we can’t see, using light lines. The lines are drawn so that we don’t make errors in proportion and fidelity with the angles. You should remember that linear perspective requires the receding lines to be closer together.
Step: 3
Next, draw the vertical edges of the cube using four straight lines. You may recall that line segments located closer to us should have more contrast and be darker than those located further away.
Step: 4
Show the top edges of the cube with four straight lines. It should be flatter on the top edge than on the bottom. As the lines recede, they should get closer together and lose in contrast. By doing this, your cube drawing will have a voluminous and realistic quality.
Step: 5

The cube drawing can now be given a more finished appearance. Make sure the lines are clear and correct by removing all unnecessary construction lines. Don’t forget to correct the lines and perspective errors, because if you forget, it will be harder to fix them in the future.
Step: 6
It is now time for the cube to take on volume and become three-dimensional. To begin achieving this, you begin by applying shadows as demonstrated by the example provided by artists.
Step: 7
As you add hatching layers, darken them wherever necessary. Light and shadow should be contrasted further at the points of intersection and in the places closest to the viewer. Schematic hatching is noticeable enough, but the smoothness and neatness can be improved upon.
Step: 8
This concludes the tutorial about how to draw a cube in its final stage. Identify all the mistakes and correct them if you can. Here’s where you need to look closely at your artwork. Finish it all off with the correct touches.
Conclusion
You will also learn how to correctly understand the perspective from this article as you learn how to draw a cube. There exist many complex objects that are made up of many simple geometric shapes. However, we live in a world that has many complex objects. Your skills as an artist will greatly improve as you acquire the skills necessary to draw this geometric figure accurately. Following this tutorial, you will be able to learn how to draw cubes of any size. You learn how to determine the volume of things in the right way, when you draw, for example, a cube. You also learn how to get that onto paper once you’ve determined the volume.
-

We live a very busy life, and discoveries and inventions play a pivotal role in…
-

One of the most useful tools in chemistry is a periodic table, which organizes all…
-
The planet’s increase in temperature has risen to heights the world hasn’t seen in past…
-

Oscilloscopes are a must-have for any electronics workbench. But how do you calibrate an oscilloscope?…
-

Have you always wondered what planets exist beyond earth? Yes, you might have learned that…
-

Oscilloscopes are instruments used in the laboratory which is used to analyze waves of electronic…
-
Squares have four congruent sides and four right angles. They must be easy to draw,…
-

Your car running out of electricity can throw a spanner in your works for the…