Your car running out of electricity can throw a spanner in your works for the day.
Imagine you’re out fishing in the middle of nowhere, found the perfect spot, and after some good catches you decide it’s time to go home – but bummer!
Your headlights were on the entire time you were there and now your car battery’s empty.
The thing is, even though your car’s engine is not working, something else may be consuming the battery’s electricity.
To find the culprit, you’ll need a couple of tools and a little bit of patience.
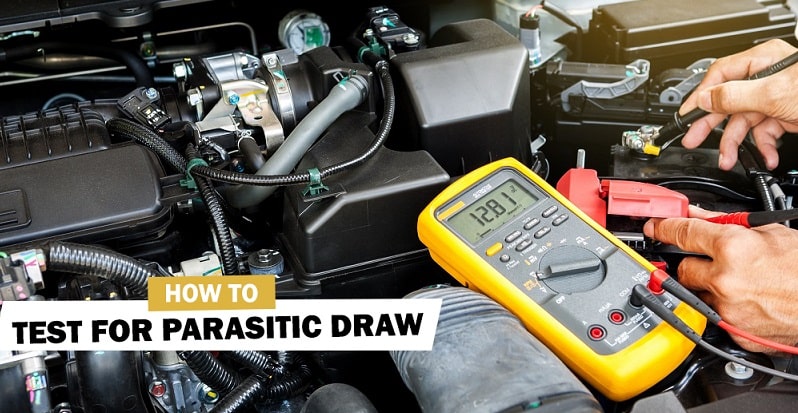
In this article, we’re going to explain to you how to test for parasitic draw.
Read on to find out more about identifying and resolving how to test for parasitic draw!
How to Test for Parasitic Draw
What is the parasitic draw?
When your car is working, it is normal for it to use some electricity on various processes and car parts that you’re using while driving.
For example, turn signals and brake lights are some of the car’s electricity-powered features that you’re going to use even on the shortest drive to the local McDonald’s.
Now, what parasitic draw represents is a sort of ghost electrical loss that you cannot attribute to any of the car’s peripheral features – at least not directly.
The causes of a parasitic draw can be various.
From leaving your trunk lights on, to accidentally forgetting to switch the air conditioning in your car off, or a faulty relay that doesn’t shut a part of your car’s electrical system off when necessary.
What’s the best way of measuring it?

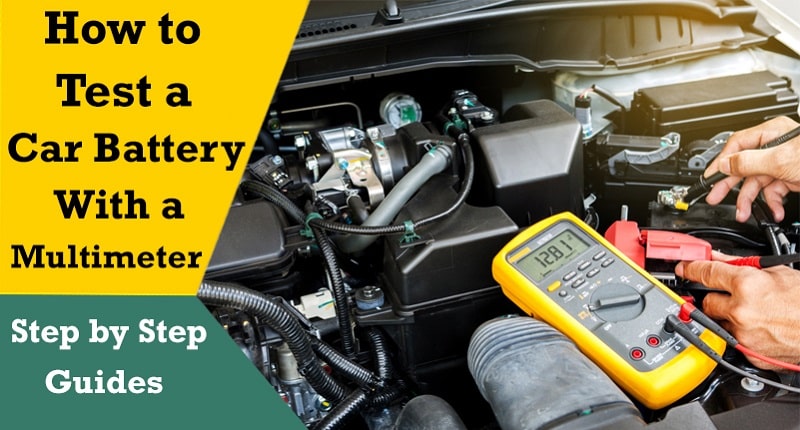
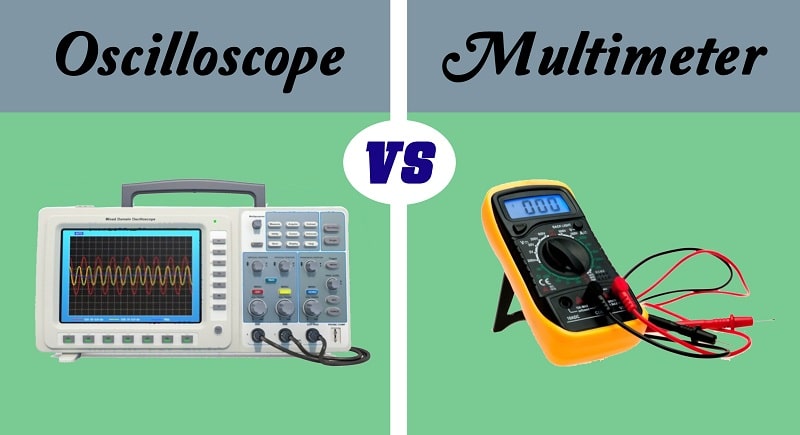
The best tool for detecting and accurately measuring a parasitic draw in your car would be a multimeter.
A multimeter represents a contraption that can measure three basic values when it comes to electricity – resistance, current, and voltage.
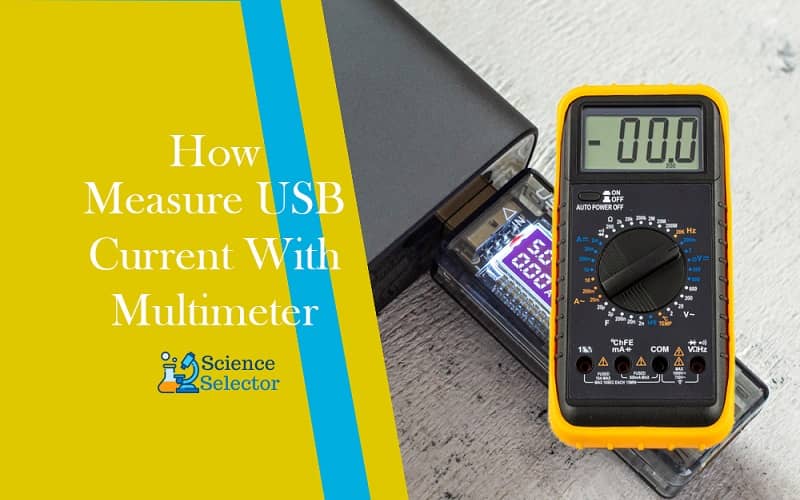
Usually, for most cars, any multimeter will probably do a decent job, but if you can – try to get a digital multimeter, because they are easier to read and tend to be more accurate than the old, analog ones.
Also, try getting a multimeter that can measure 20A as opposed to ones that can measure just 10A.
Even though the 10A models are often more than enough to get a good reading, a 20A model will be safer to work with, because it can tolerate higher amperage – which is important especially if you have a car that’s got a larger battery.
The parasitic draw detecting and measuring procedure
1) Charge the battery
If you suspect your car may be a victim of a parasitic battery draw, the first step to uncovering the culprit and resolving the situation would be to charge and disconnect the battery.
The battery needs to be fully charged before you can start the test.
This is because you need to know exactly how much charge it has in it, so you can compare it with the charge later on, after the parasitic charge has taken its toll, so to speak.
After you’ve put the battery back in the car, make sure that you don’t start the car and that no electrical systems are on.
This also means that you shouldn’t place the ignition key in its slot, either.
The battery’s starting charge when it fully charges should be around 12.6V.
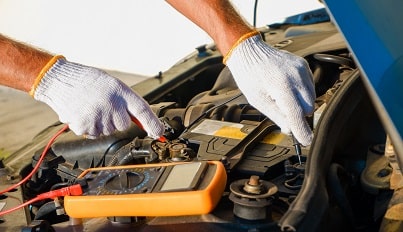
2) Disconnect the battery and connect the multimeter
Once the battery’s in its place and the car’s completely shut down, you can remove the negative cable from the negative terminal on your battery.
After you’ve done this, you can connect the multimeter to the negative terminal.
The way to do this is to take the red cable of the multimeter and connect it to the red cable of the battery.
The black cable of the terminal should place on the negative terminal of the battery to complete the circuit.
You can also do this with the positive terminal and cable, but it’s typically recommended to do it with the negative terminal, for safety reasons.
If you own a more modern multimeter, you won’t need to worry about range, because the device will set it on its own.
On the other hand, if you have an older model, you need to set the range to 2A or 200mA. This is because if you get a parasitic reading on the battery’s negative terminal, it will likely be in the range of 50mA on older cars, and about 100mA on modern cars with a lot of accessories and electrical devices on board.
If you own a newer vehicle, before conducting the test and after you’ve connected the probes to the battery, make sure to wait for a couple of minutes.
This is because some of the modern car models have a feature where their computer will pick up the presence of a multimeter, so to speak, and then it will start the car’s systems up.
In case you’re using a digital multimeter and you get a message that says OL on the display after connecting a probe to the battery, it means that the reading is over the limit. If this happens, select a higher range to get within the limit of the reading.
3) Read the meter
After you’ve waited for a couple of minutes for your car to go ‘back to sleep’, you can perform the measurement.
If you’ve chosen a suitable range, you will get a reading that you can rely on.
Again, if it’s around or over 50mA (older cars) or 100mA (newer cars), you probably how to test for parasitic draw situations going on.
Now, after you’ve determined that you are dealing with a parasitic draw, you can go about figuring out what’s causing it.
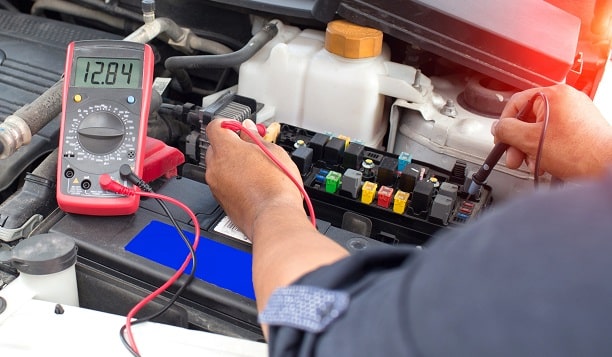
4) Checking the fuses
On older cars, you can check for this fairly easily – by checking each of the fuses individually.
This procedure is pretty straightforward.
Keep the multimeter attached to the battery, access the fuse box, and then start pulling one after one.
If you’ve pulled a fuse and nothing’s happened, that means that the system this fuse is responsible for is not the parasite, so to speak.
On the other hand, if after pulling the fuse the reading drops slightly, this means that the system behind this fuse is what’s been causing the draw.
(A quick note: DO NOT turn the car on during this procedure!)
If all fuses are OK, repeat the procedure but with relays until you find the problem.
On the other hand, if you have a newer car, the procedure is slightly different.
Since newer cars have computers that will send various systems ‘to sleep’ after a while, the procedure is to drive the car for a while and use all of the systems along the way.
After you get back, see how long each of these systems takes to fall asleep, so to speak.
Next, remove the key and make sure that no electrical system in the car is on.
After that, you can start checking fuses one by one in the same way you would do with an older car.
5) Pinpointing the power hog
While the vast majority of power draw problems in cars are caused by faulty circuitry related to the many in-car electrical systems, sometimes the problem is in the alternator – which is a car component with the job to get electricity back into the battery.
If this is the case, then you need to fix the alternator, of course.
That said, this doesn’t mean that you don’t have a secondary parasitic draw situation going on in some other circuit in your car.
Anyway, if the problem with your car is fuse or relay-related, the solution is as simple as changing the fuse or relay in question.
If not, then you need to further check the circuit in question, because there you will likely find the culprit in the shape of a broken diode, another fuse, or something else.
Other culprits within electrical systems that can hog the power from the car’s battery often include lightbulbs, heaters, or fans.
These tend to break the most frequently, so those should be the first suspects that you need to take a look at when testing the circuits in question.
6) Repairing the issue
The way to repair the issue will depend on what the issue is.
If we’re talking about a dead light bulb, repairing the issue is as simple as replacing it.
Once you’ve fixed the issue, you should run the test again, the same way we explained in the passages above.
Of course, you don’t have to do this for every single fuse all over again.
You can only concentrate on the fuse of the circuit that you’ve just fixed, so you can see whether or not there is still a parasitic draw.
Optimally, if there is no draw anymore, the reading you should get on your multimeter is about 25mA. This is considered normal, so you shouldn’t expect the reading to be a perfect 0.
Conclusion
All in all, as long as you’ve armed yourself with patience and a decent multimeter, you can rest assured that you will be able to detect parasitic draw fairly easily.
We hope you found how to test for parasitic draw in this article helpful and we wish you find easy fixes for the parasitic draw issues you’re experiencing with your vehicle.
-
How do you feel when you wake up earlier in the morning and realize that…
-

Squares have four congruent sides and four right angles. They must be easy to draw,…
-

You'll learn how to draw a cube by hand using the ideas of two-point perspective…
-
Electricity is one of the fantastic inventions made over the past few centuries and has…
-
On devices, the current strength that they can withstand is rarely indicated. The main ones…
-

Tracks and pads on modern boards are getting smaller, and the boards themselves are often…
-
Unless you are a technician who needs to alternate between True RMS and automotive meters,…
-
Changing a lightbulb is no rocket science, but thanks to the Internet, we can fix…