Oscilloscopes are nifty gadgets that every person in the electrical field should have. They are not limited to only the electrical guys, but anyone interested to know more about electronics can have them. These instruments are described as having the capability of capturing, displaying, and at the same time, analyzing electrical input signals.
But even when you want to troubleshoot your electronics, oscilloscopes come in handy. They give you the comfort of knowing that you don’t have to do some guesswork if your circuits get into some unexpected trouble. You can use them to pinpoint the situation and act accordingly.
Being the modern instruments in the electric world, you need some tutorials on how to use them. It is not a complicated science. With a bit of explanation and hard facts, you can learn. In this article, we will focus more on how to use oscilloscopes.
The guide will take us through how to use oscilloscopes targeting different parts and how to tune them. That will give you information on how to use these scopes. We will touch on some other things about oscilloscopes to make you follow along with us.
Curious! Let’s do this.
What is an oscilloscope?
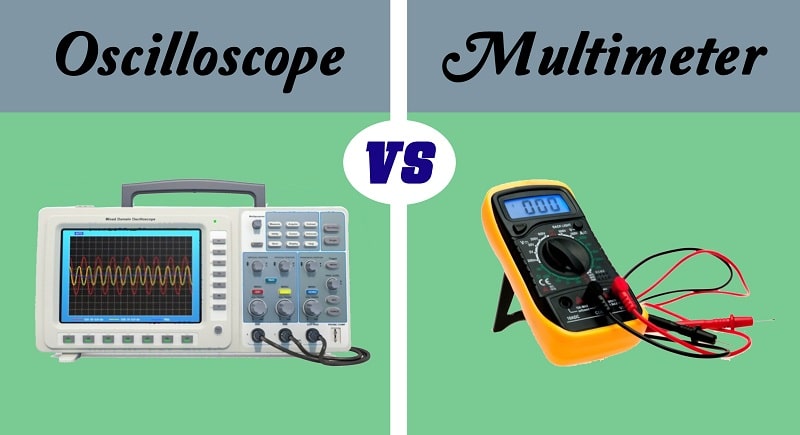
An oscilloscope is an electrical test instrument used to check changes in voltage that cannot be seen using multimeters. It often displays them in a line that is a graph of the voltage. While using the graph, the voltage is measured by the use y-axis and X-axis.
Oscilloscope Basics
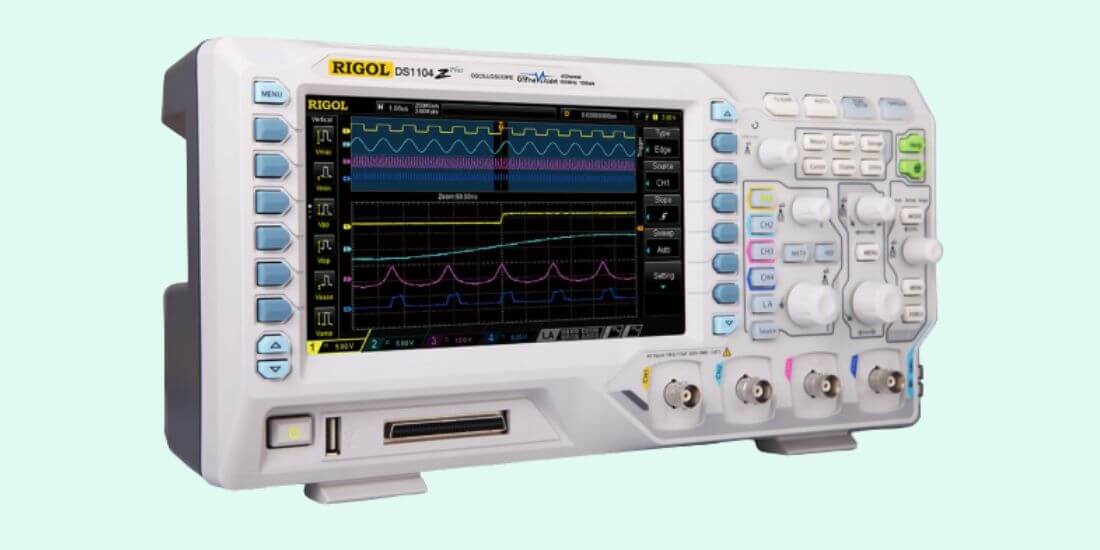
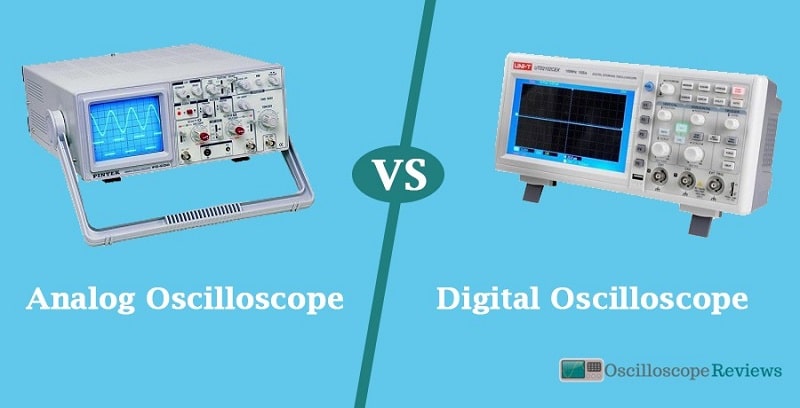
We can name two types of the oscilloscope which are analog and digital. Generally, they are the same and perform the same functions. You might notice a few differences in the knob section. The digital ones may not portray the usual knobs and buttons but instead have them in LCD.
You need to know some features to look for on an oscilloscope;
- The sample rate; the sample rate is measured per second. The number of samples an oscilloscope gets a second is the one known as the sample rate. To get an excellent oscilloscope, choose a higher sampling rate per second. That is because the waveforms will be more precise. That is the secret of having grand and accurate waveforms.
- Channels; channels are the input to the oscilloscope. Each oscilloscope has either two or four channels. That refers to analog and digital oscilloscopes.
- Bandwidth; while using oscilloscopes, you will come along the frequencies. The bandwidth is the range of these frequencies that are measured by the oscilloscopes accurately. They range from “50 MHz – 100 GHz”.
- Signal capability; pick the machine that gives you the correct numbers. While looking at the waveforms in your scope, you want it to provide accurate information. With an oscilloscope that can capture the signal well, you are sure all the information it provides is correct. Again, who wants to spend more while trying to figure out what’s wrong with the signals provided. Make sure you pick the one that portrays great signal strengths and integrity.
- Probes; what do you use to connect your oscilloscope to your device? They are known as probes. You will note that their a variety of them and perform different duties. So while looking for that scope, pick the one with the suitable probes compatible with your tests.
Why do you need oscilloscopes
- To measure electrical voltage. Though this is the primary role of the oscilloscopes, you will discover that what multimeters can detect, oscilloscopes can. So when you need to know the level of your voltage, you can use them.
- When doing electrical jobs, at times, you may encounter some errors. With ordinary multimeters, it is hard to pinpoint those errors. But when you take an oscilloscope and try to trace the error, they are good at picking those areas. That makes your work easier and faster.
- You have no idea that these oscilloscopes can collect data within no time. They have some features that enable them to collect and store data. Such data can be beneficial when you need to carry out your electrical jobs.
- They are even used by people in the automotive industry to detect problems in their vehicles.
These are just a few uses of oscilloscopes that I need to highlight to give you an idea of what these instruments can do.
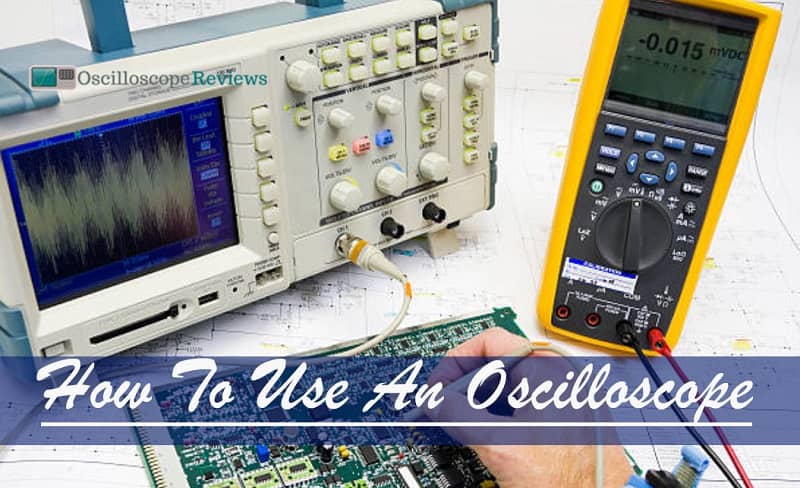
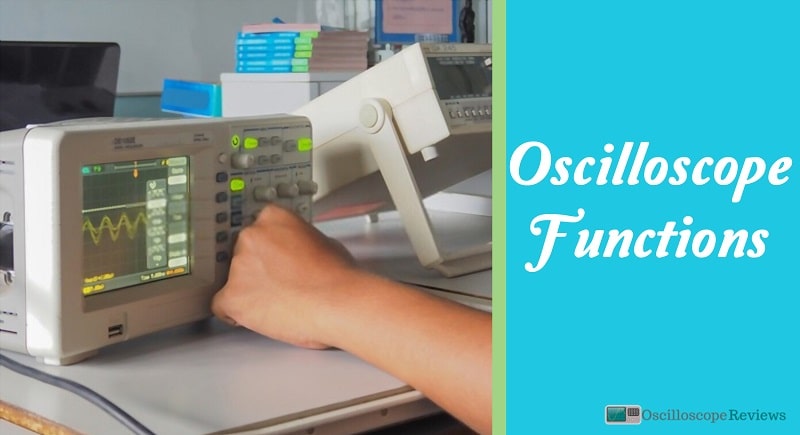
How to use an oscilloscope
We will concentrate on digital oscilloscopes for now. Before you embark on the journey of using an oscilloscope properly, you will need to familiarize yourself with it first. We are going through every detail on how to set up the usage stage. Tag along;
- First, let’s familiarize ourselves with the interface of an oscilloscope. This is the first step to start us on how to use an oscilloscope.
When you look at an oscilloscope, the first thing you notice is the screen. The screen is used to portray the waveform. Everything that goes around the scope is displayed on the screen. You will notice that in case of any information that changes in the waves, it is drawn.
You will see some ports marked in different colors. Generally, some oscilloscopes have three to four channels. The input ports are used to insert the cable.
It has some volts/div, which are used for zooming purposes. When you want, for example, to change the volts presentation on the Y-axis.
You will also see some time/div, and their use is to change and adjust time along the horizontal line. You can zoom either in or out along the x-axis.
The trigger level is very crucial in terms of making the waveforms stable. You will realize that the trigger control is fast at starting another one when you are through, maybe with another scan. So it triggers the scope even before you start using it. So the trigger level delays that and gives you some time to prepare. The trigger level can also be called trigger hold-off, so don’t get confused once you see such a button on your scope.
Vertical and horizontal positions are also on the oscilloscope. They allow you to move in all directions. For the horizontal, you can move left or right. For the vertical, you can move up or down.
Some oscilloscopes have beam finder functions. If you don’t know the use of beam finders, they are used when the traces may seem unclear. When you use the beam finder buttons, the beam is traced and made to sit at the center where it is supposed to be. It gets visible at the center of the screen.
- The second step we are looking at is setup. How do you set up your oscilloscope so that it can be ready for use?
The first thing to do is turn on the oscilloscope. When you switch it up, the line must not be moving. It should be straight while you look at it through the screen. In case you notice the line is somehow moving, it means you have to switch off your scope and try to reset it. Why should you reset? So that it can give you good results or relatively accurate results.
To add to this, you will realize when you turn on your oscilloscope; it takes some time to warm up. That should not worry you. It is common so give it a few minutes before you start using it. The electronics need to boot up and start functioning.
- We are at the third step of connecting to the oscillating signal
We are now connecting to the oscillating signal. At this step, we need the signal strength to be very stable. We don’t need a singing signal because it will distract our connection. Again, the frequency must also be firm. In that case, we prefer to go with a waveform generator. There are others you can use but let’s stick to the waveform generator.
Now set it to around 2.V amplitude, at around 500HZ. After that, insert your oscilloscope probe. Meanwhile, connect the cable’s center to the signal and the side of the cable to the ground. Once you are done, set your oscilloscope to AC coupling.
- Our fourth step is setting the trigger
A point to note is that oscilloscopes auto-trigger themselves. That is the way it should be. But at times, you need to make the settings so that you can see the voltage range and so on. So, in that case, we are going to set our trigger.
It is essential to set your trigger to the appropriate channel. That is if you are using more than one channel. Adjusting the trigger will allow the scope to compare the incoming signals. Since it is the voltage level, it can capture any voltage changes. At this stage, concentrate on setting it to the right place. Also, make sure you adjust time/div and volts/div so that you can view all the happenings on your screen.
You may ask, why is it important to set the trigger? We want to get the specific features of the signal. Well, the work of the trigger control is to help the users stabilize the repetitive waveforms. It also helps in capturing the shingle shot waveforms.
- We are at step five, which is scaling the scope
We are now scaling our oscilloscope. You need to adjust the vertical position, volts/div, and time/div to scale. Tune them until they come to the center. Don’t forget the horizontal position too. Tune them using the above keys till they are set at the right place.
Let’s go deeper and understand why at times, it is hard to see results when scaling. In the essence that you may find the scope is not rising at the center, you can check the following; check the AC coupling mode and see whether it is set well. Also, look out for the probes and in case there is some disconnection or not grounded. Make sure you work on that.
- At step six, we need to measure our amplitude
Before we proceed, the total voltage between 2 points in a circuit is known as amplitude. So when you measure the maximum voltage from the ground, you can say it is amplitude.
When it comes to measuring the amplitude, we will mainly concentrate on the center. That is because we set our scope starting from there. Now our amplitude will be measured by looking at the signals of the highest plus the lowest points. We are going to count the number of the vertical divisions, then multiply by vol/div. Once we do that, we are going to get the amplitude in volts.
- We are at step seven which involves measuring time and frequency
Now that we want to take the time measurements, we will use the horizontal scale. Remember, every time you are taking time measurements, the horizontal scale is the one that should be used. So will measure the period and pulse width of the pulses. For the frequency, divide one by the period. Wondering what a period is? It is the complete round the oscilloscope takes to complete an entire cycle.
- Getting the image
Everything has been set on the oscilloscope. You are now at the stage of getting the image. Now that you have set the time, the controls, the triggers are well in place, you can make the adjustments to the control buttons. That will give you clear and precise images. Thus you will be able to get your shots without much struggle.
Conclusion
There you go. We have learned every detail you need to know about oscilloscopes. These excellent instruments are helpful even in our day-to-day activities. If you need to do some electrical job in your house, you can use them. You know their features, uses, specifications, and how to use them. So whenever you want to acquire one, you have an idea of what to expect. As we discussed, these are good electrical instruments that you should have. They are accommodating when it comes to all your electrical needs. Go ahead, have one and enjoy.
-
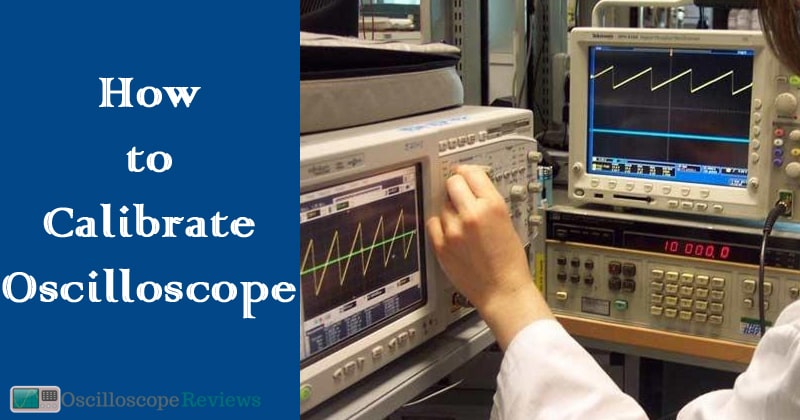
Oscilloscopes are a must-have for any electronics workbench. But how do you calibrate an oscilloscope?…
-
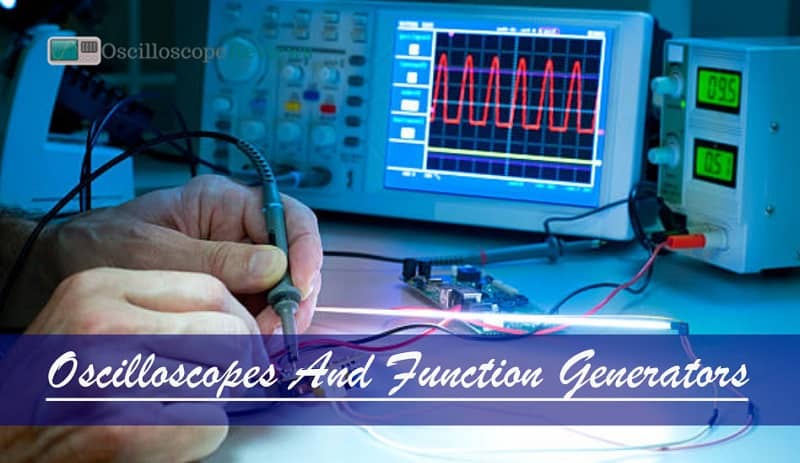
Some will argue that an oscilloscope and a function generator are the best instruments used…
-
It is almost certain that you have drawn charts in your life or seen them…
-
Oscilloscopes are instruments used in the laboratory which is used to analyze waves of electronic…
-
Life is full of choices. Some are simple, like choosing between butter and ghee, whereas…
-
An oscilloscope is a device that captures a live signal from a test circuit and…
-
Electricity is one of the fantastic inventions made over the past few centuries and has…
-
The oscilloscope and logic analyzers happen to be the most recognized types of test gadgets…